Remember, each heading is a link to the rating page that contains more information
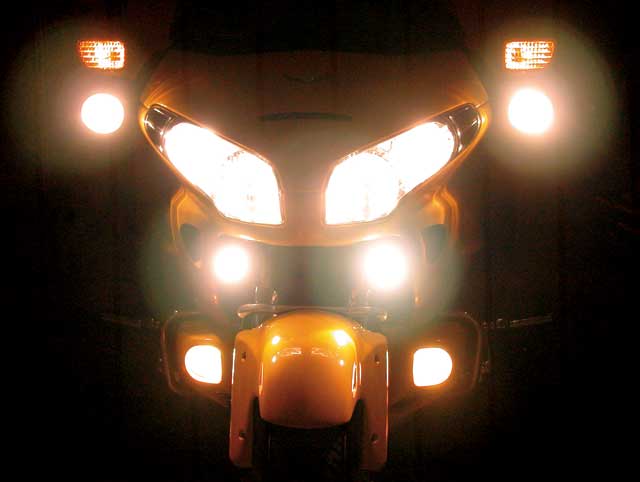
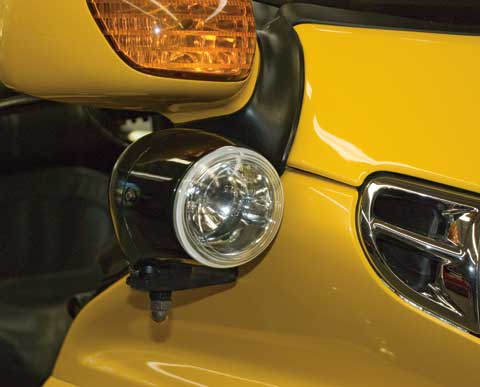
It might look like an alien spacecraft, but I sure can see down the road well at night.
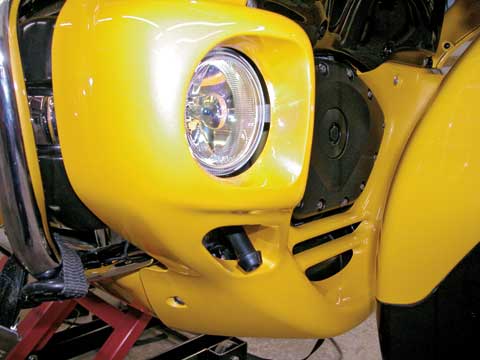
Electrical Connections, Platinum Ion fog lights fit very nice.
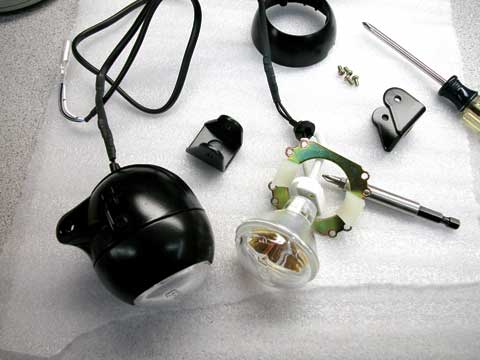
Although the GL1800 has excellent headlights as it arrives out of the box, I wanted more. I didn't know how much more until I started riding rallies that ran all night. The first kit I installed was an amber fog light kit because I have been caught in the fog at night on various occasions and it being able to see the fog-line really helps to keep the bike on the road. An added benefit of the fog/driving light in the Wing's lower cowl is that they make the bike more visible to oncoming drivers. I used a yellow light kit from Tulsa first and the kit was relatively easy to install, but the lights were difficult to aim and were sold with Yellow Spot II. The Platinum Ion Amber Fog Light Kit from Electrical Connections requires no aiming; they are perfect as installed and supply perfect brightness for their intended purpose; light from these shines low and wide, perfect for foggy conditions The springs that hold them in place are a bit difficult to install but, thankfully, they don't have to come out very often.
To aid visibility in traffic or attempt to remove lane hogs from the passing lane, I installed a headlight modulator on the stock high-beams. Because I feel there are times when a headlight modulator can be very distracting to other drivers/riders, I installed the modulator with a toggle switch instead of the daylight sensor the kit comes with.
1100x kits available for the GL1800 come with nice
mounting brackets that fit under the now cowl.
I often found times when it would be nice to have even more light so I bought the PIAA 1100x kit that fits under the nose cowl. It looked like the most well integrated kit I could find. Fork mounted lights may have been nice, but I wanted something as high off the ground as possible, without looking outlandish. The 1100x lights make a very nice round bright area in front of the bike and light up the sides of the road well, but do not outshine the high-beams. I took Yellow Spot III out on a 36 hour rally shortly after completion and found times when I really wanted to see past the high-beams. I also found myself wishing I could see around corners while riding two-lane mountain passes. So, I did a little more research and talked to a few more friends during the following weeks and decided to install a pair of PIAA 910 pencil beam lamps at 110 watts each. The late Ron Smith was making some nice brackets to mount these lights under the mirrors and they didn't look too terribly out-of-place there. The brackets are now available at Cycle Gadgets. WOW, what a difference. They must light the road for at least a quarter mile. The 1100x lights were then aimed up and out for shining around corners while leaned over or simply lighting the sides of the road. I have to be careful at night now, not to exceed the speed limit by too much, because I can see so well. With all the lights on it is almost hard to tell when the sun comes up! I wired both driving light relays to the high-beam trigger wire at the stock fog-light connector (get that repair manual out again!), so they can only be on with the high-beams. That way, if I round a corner and find oncoming traffic, I only have to switch to low-beam to turn everything off at once. I do have switches for the 910 and 1100x so I can turn them on or off individually, in pairs, if I choose to lower the 12 volt load. Of course, I had the 1100x bodies and 910 brackets powdercoated satin black to match my bumble bee theme.
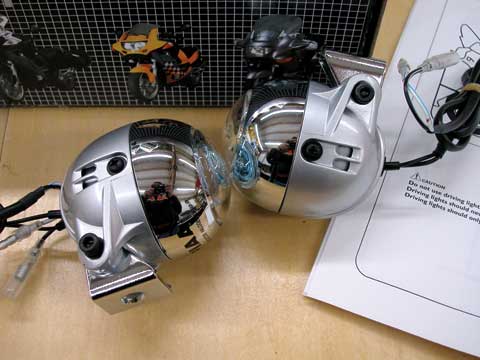
The PIAA 1100x lights as they come out of the box.
The lights come apart easy enough, for painting or powdercoating.
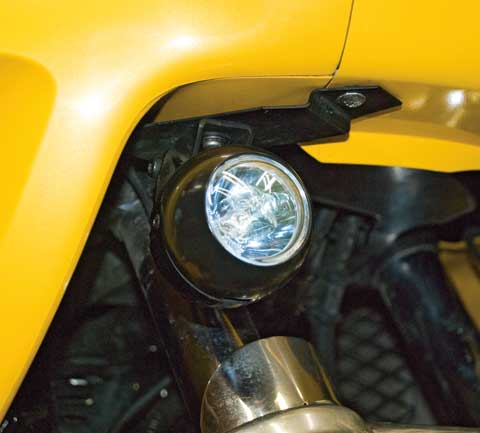
You can get brackets that mount behind the mirrors for
PIAA 910s and they don't look too out of place here.
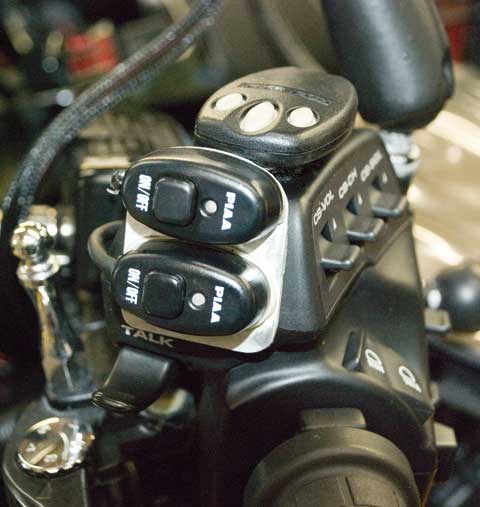
A little piece of Aluminum and some mounting tape was
used to mount these switches for the PIAA driving lights.
They are within easy reach of a finger here above the
CB PTT switch. Garage door remote is stuck on top.
It’s nice to have light where you need it; like rummaging around for stuff the trunk, at night, without a flash light stuck in your mouth. I don't need a mirror in there, so I passed on the Honda accessory but, the little LED unit from Electrical Connection is plenty bright and won't need replacing for years. Using the Honda trunk light harness just makes it easy to plug in the light rather than having to splice wires.
If you have an early GL1800, the handlebar switchgear is not lit. The lighted switch gear panels from Rivco do a very good job of lighting the labels on the handlebar switches, but are unnecessary on my '05 because Honda got smart and finally lit their switchgear.
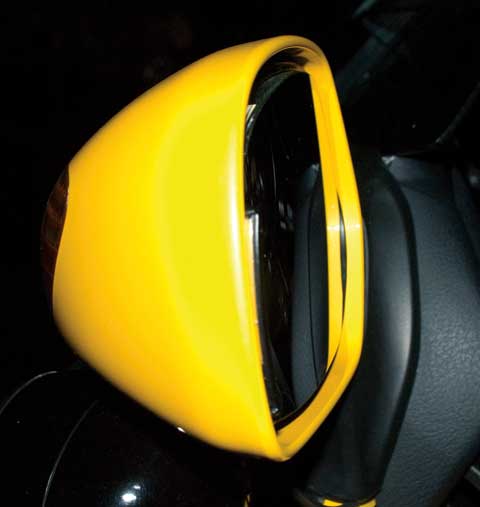
The edge of the Mirror Turn Signal can barely be seen . . .
until they come on.
I also added a few lights for safety sake. I wanted yellow LEDs on my mirrors for additional turn indicators, most are red. I tried the V&P units, but liked the look and fit of the Addon units better. While I was working on the mirrors I installed some Multivex mirrors from Electrical Connection. They completely eliminate the blind spot one would normally have to check with a head-turn. Not to discount the head-turn, but it’s nice to see more for less work.
Although relatively expensive, the Honda spoiler makes the back of the bike look a little racier while adding an extra running/brake light up high. It’s a real safety bonus, especially when pulling a trailer! A Kisan unit I mounted above the inner trunk lid makes the spoiler light flash sequentially faster with the brakes on, hopefully getting the attention of everyone behind me. A V&P outer trunk light converter (BTT) is also a safely addition for pulling a trailer. It turns the outer brake lights on the trunk to turn-signal/brake combo. It works great but it is fair amount of work to install. It is switched with a toggle mounted in the trunk so the outer brake lights function normally when I’m not pulling a trailer.
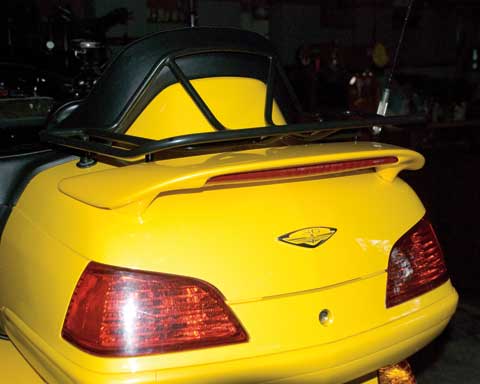
The Honda spoiler looks nice and adds an extra running/brake light.

Relays for the Brake to Turn units mount under the lower trunk panel.
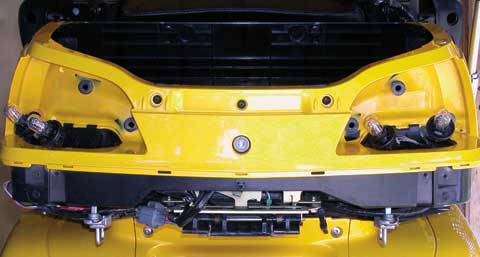
The trunk lower panel and tail lights removed to install the BTT unit.
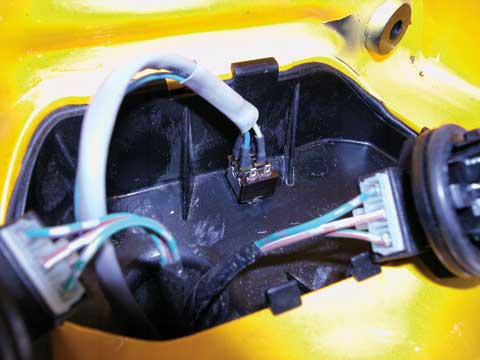
BTT Switch mounts in the trunk tail light housing and
is accessible from inside the trunk.
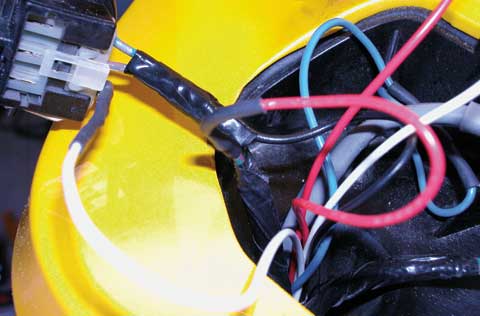
A few wires have to be spliced to install the BTT.
Photography and website byDAYLE DESIGNScopyright 2009