Remember, each heading is a link to the rating page that contains more information

Getting the ergonomics right makes it easy to sit in the office for days at a time.
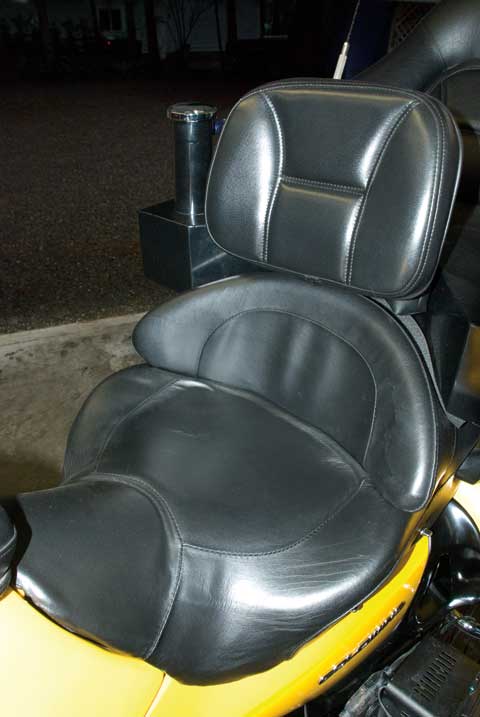
The Utopia Backrest built into custom leather saddle.
this combination is an all day love affair.
A few ergonomic modifications were needed for my old back, bony butt and short T-Rex style arms to make the bike suitable for long days in the saddle. My first consideration was a backrest and the Utopia was the best choice for me with its built-in factory look, lack of around-the-seat mounting hardware and great adjustability. The pouch on the back is also handy for quick access to small items.
I then had to get the handlebars moved back so I could actually use the backrest. The stock bars are nonadjustable and would not be replaceable without a great deal of machine work. First I tried some small wedges from V&P that moved the bars back only slightly. Then MBL made a bar relocation kit that was close, but left the grips at an awkward angle. REG came out with a set of blocks that made the handlebars fit me perfectly. I see that Cycle Gadgets now has a set with some adjustability available that should make them the best choice for most folks.
The stock seat is really pretty darn comfy; enough for 3-500 miles, but it did not fit my butt well enough for thousand mile days, so I made an appointment at Rich's Custom Saddles in Seattle and had it custom fit to my posterior, padded with gel and covered with leather. Now when I'm not sitting on the bike, you can actually see where my butt bones fit!!! I had considered a Travelcade seat with adjustable backrest, but they hadn't produced it when I was ready.
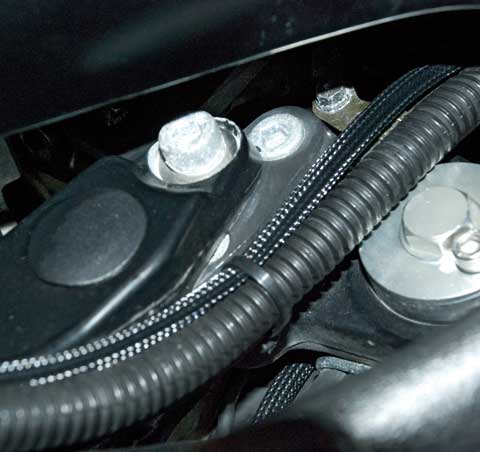
REG Riser can just be seen in the center of this photo.
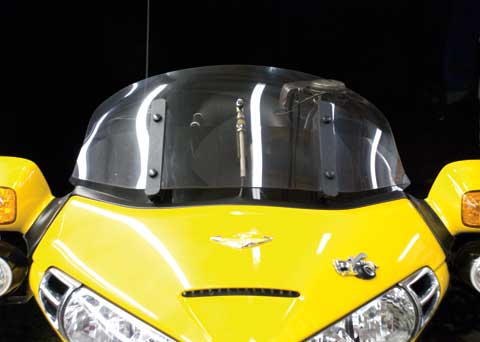
After some experimentation, I found this short HP Windbender
to be the ideal solution for clean air.
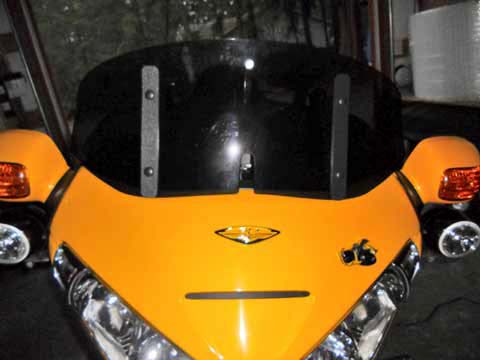
The light smoke version looks good with yellow, too.
The stock fairing and windscreen on the GL do a good job of controlling the majority of windblast and the windscreen is adjustable, but there is considerable helmet buffeting at freeway speeds with the screen down and I like to ride the twisties and traffic with it down. I'd rather look well over the top of my windscreen all the time, but at speed or in precipitation; it was much more comfortable to have up, which made it hard to see over. Sure, it was adjustable, but not conveniently. Then Tom, of Firecreek Accessories, introduced the electrically adjustable Windbender. I had to give it a try. I started with a medium height screen and loved changing its height with the touch of a switch, but there was some eyeball jarring buffeting at speed. When I tried the shorter version, so I could see over it even better, the buffeting went away. I don't know whether the narrower profile of the shorter screen is the cause or what, but the short HP (flip curve on top) is perfect. Even with the screen all the way down, at hyper speed, there is very little buffeting and If I want to still the air or block moisture from pounding my face, I simply touch that switch. With the short screen all the way up, I can still see well over the top of it and the air flows way over my helmet. To keep the rain off my face shield I get to touch the switch again, lowering the screen enough to let wind blow moisture off my face shield without a gob of buffeting. Perfect.
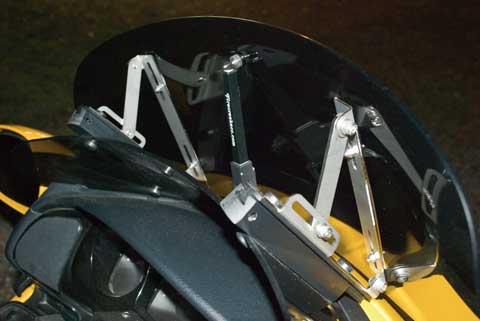
Windbender Rake Adjustment Kit.
I've been playing with the aerodynamics of the Windbender at speed for a couple years and finally hit on a solution that makes sitting on the bike at 100mph as close to sitting in the living room as I've ever been while behind handlebars. I developed a Rake Adjustment Kit to adjust the angle of the top shield and found that when it is about 18° from vertical the air is perfectly smooth and stress free (for those extended high speed runs).
After a wild turkey took out my original I decided to modify the next installation so I could lower the shield enough to have wind clear my face-shield of rain. Because I lowered the actuator to keep the top mounting pin in the flat of the top shield, the top shield hit the actuator when raised. All I had to do was notch the the shield to clear the actuator. I still have the full four inches of vertical adjustment and can have wind in my face or a perfectly smooth ride at speeds over a buck. The best of both worlds!!!
Front view of my new Windbender with a reshaped bottom edge
allowing the shield to be mounted very low.
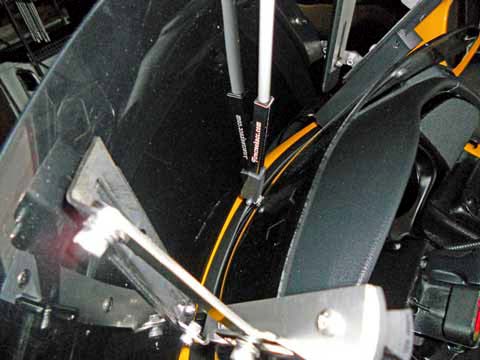
Rear view of my new Windbender with a actuator mounted low
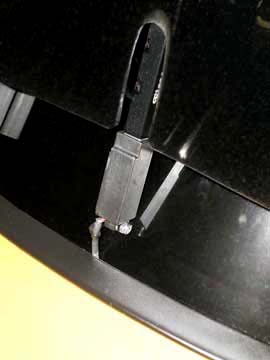
Detail of the notch I had to cut to clear the actuator
when the shield is raised.
Even with the HP-short in the full up position, it is easy to see over.
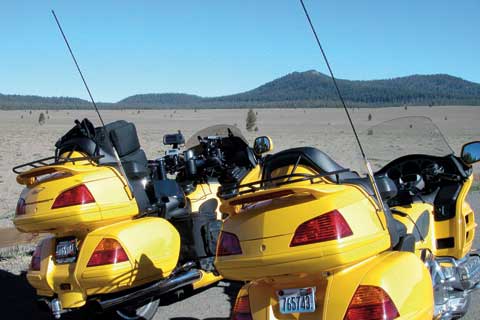
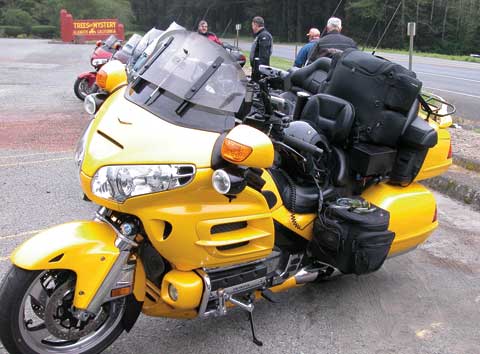
This shot of Yellow Spot II, after the rebuild, and Yellow Spot III
is a great comparison of the height of the Windbender and
a stock screen (on the right). This also shows off those black antennas.

The short Windbender (on right) looks really sporty too.
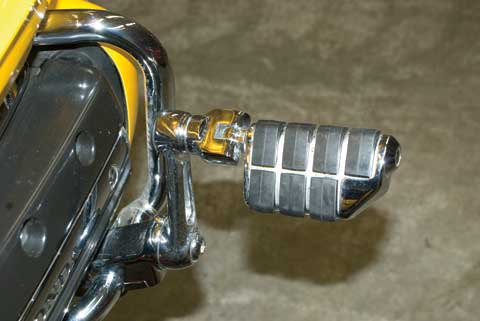
Kuryakin highway pegs with short arms fit me perfect.
Okay, my upper torso was sitting comfy now, but my knees got sore if they are in the same position, tucked under my butt, for hours and hours. My feet needed an alternate place to rest. In my opinion, the Kuryakin highway pegs are the best looking units available. The early versions had four inch arms that put my feet in just the right place to straighten my legs while lifting my butt off the seat slightly, but they had mounts that significantly reduced ground clearance. I put the new mounts on when they became available, but they came with seven inch arms which I could not find a comfortable position for. Swapping them for the old sort arms put them back in that perfect place. My wife has short legs, so just in case I ever got her on the bike, I installed some passenger floor board risers too. They also put the passenger boards in a perfect place for some extra cargo bags.
Photography and website byDAYLE DESIGNScopyright 2009